Have you seen some amazing digital stickers online and wondered how I can create them?
Do you want to learn how to create digital stickers for free?
If yes, then I’m here to help!
Digital stickers have become a fun and expressive way to jazz up your digital planners or social media platforms.
Whether you want to create digital stickers to make your digital planners more engaging or use them to promote your brand, don’t worry—I’ve got you.
In this tutorial, we’ll explore how to design digital stickers effortlessly using Canva, a versatile online design tool that requires no prior graphic design experience.
Also, Canva is free to use – a bonus!
Remember to download your free Canva digital stickers, which you can use for personal or commercial use (once edited).
*This post may contain affiliate links, meaning If you use these links to make a purchase, I may earn a small commission at no cost to you. Thanks.*
Section 1: Getting Started
What is Canva?
Canva is a user-friendly graphic design platform that offers a wide range of templates, tools, and resources.
Using Canva, you can create various digital items, including stickers, planners, invitations, resumes, presentations, and anything else you can think of.
The best thing about Canva is that it’s free to use!
Creating a Canva Account
To get started, visit canva.com and sign up for a free account.
If you prefer additional features and resources, you can explore Canva’s subscription options, which are soo inexpensive.
I also have a free 30-day Canva Pro trial that you can use to start creating your digital stickers.
Section 2: Understanding Digital Stickers
What Are Digital Stickers?
Digital stickers are graphics or illustrations used in online communication to convey emotions, reactions, or messages in a fun and visual way.
You can also add digital stickers to your digital planner or journal.
You can use them to decorate your digital planner or digital journal pages as you would with paper stickers in a traditional planner or journal.
I find creating digital stickers so much fun! I can create different types and variations.
Trust me, we will get to the fun part in a second.
Types of Digital Stickers
Digital stickers can be static or animated, decorative, and functional.
Static stickers are still images, while animated stickers include motion or effects, adding an extra layer of engagement.
Decorative digital stickers focus on aesthetics and self-expression. They offer an array of colours and expressive illustrations that bring personality and liveliness to digital planners/journals.
Examples include emojis, washi tape, fun borders, fun quotes and more!
Functional digital stickers or widgets are designed to be more practical. They include elements that mimic real paper items, which you would typically write on top of.
Examples include to-do lists, sticky notes, diagrams, charts, tables and more!
Section 3: Creating Digital Stickers Using Canva
We will be creating three types of digital stickers:
- Decorative digital sticker
- Functional digital sticker
- Canva template digital sticker
The dimensions and creating your design
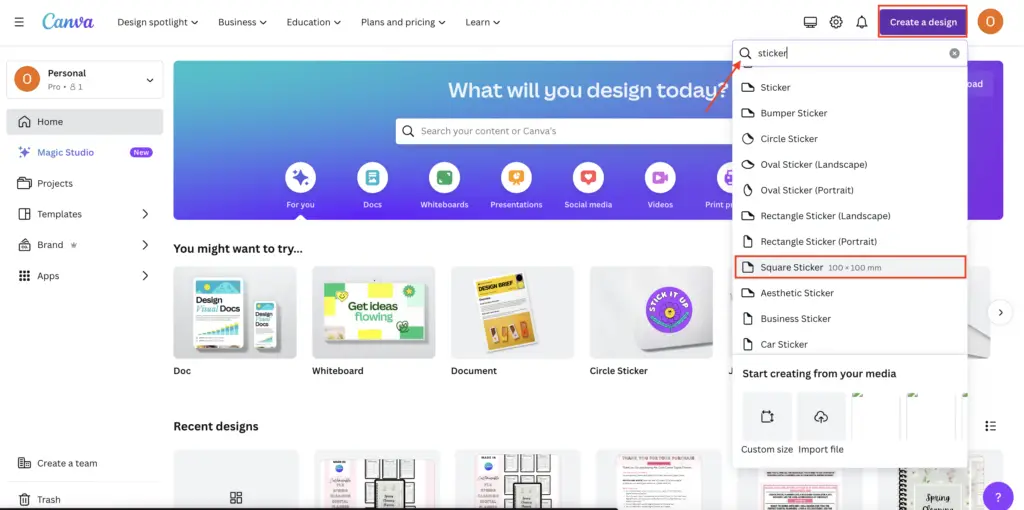
First things first, we need to create a design on Canva.
To do that, select the ‘Create a design‘ button on the top right corner of the page.
After, type in ‘Sticker‘ in the search bar.
Next, select ‘Square Sticker‘. This sticker size is 100 x 100 mm.
Creating Decorative Digital Stickers
Now that we have the dimensions in order, we will start creating a decorative digital sticker.
This digital sticker is a paper tag that users or customers can use to decorate their digital planners or journals.
Let’s start with the square shape, which you can access via the ‘Elements‘ tab on the left-hand ribbon.
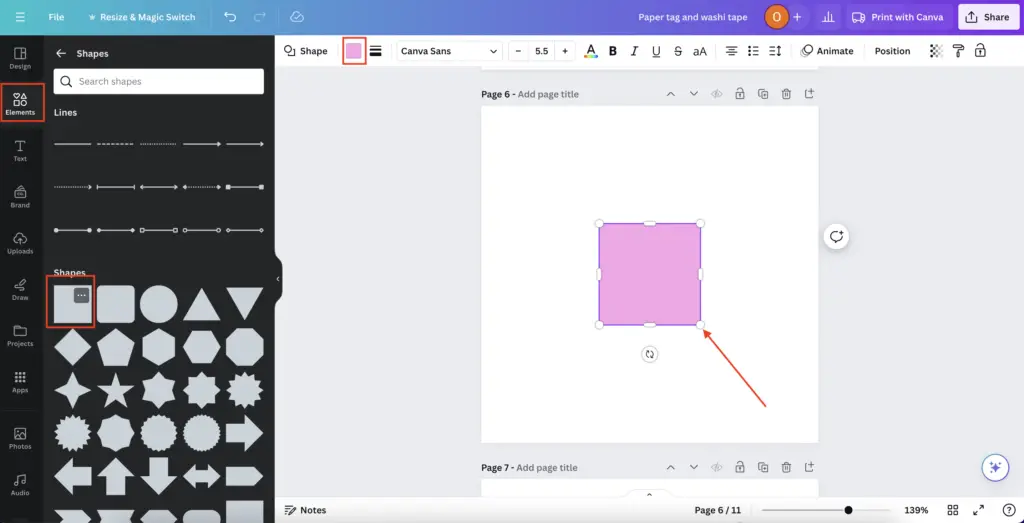
To change the square to a rectangle shape, adjust the corners of the size until you have your desired rectangle.
To change the colour, select the colour tab on the top ribbon.
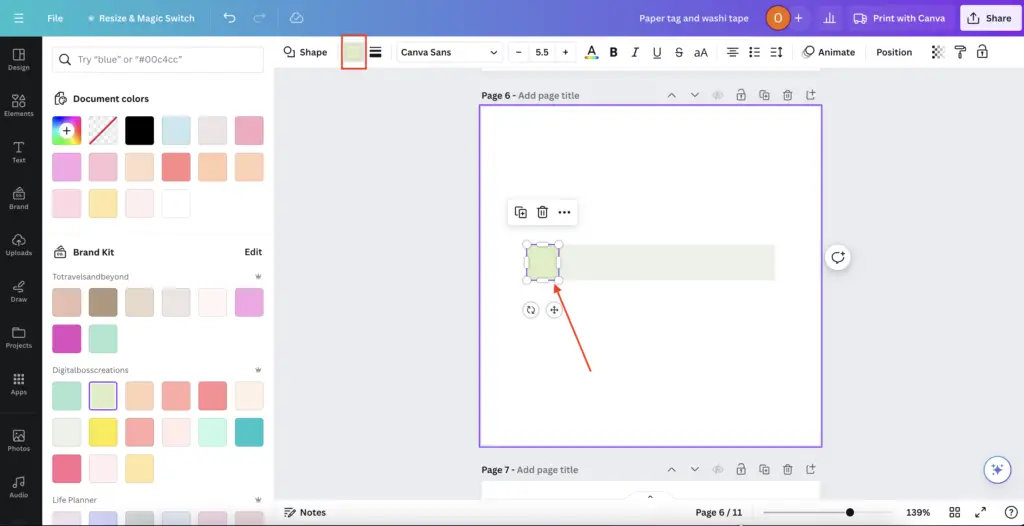
Next, we need to create the beginning piece of the tag.
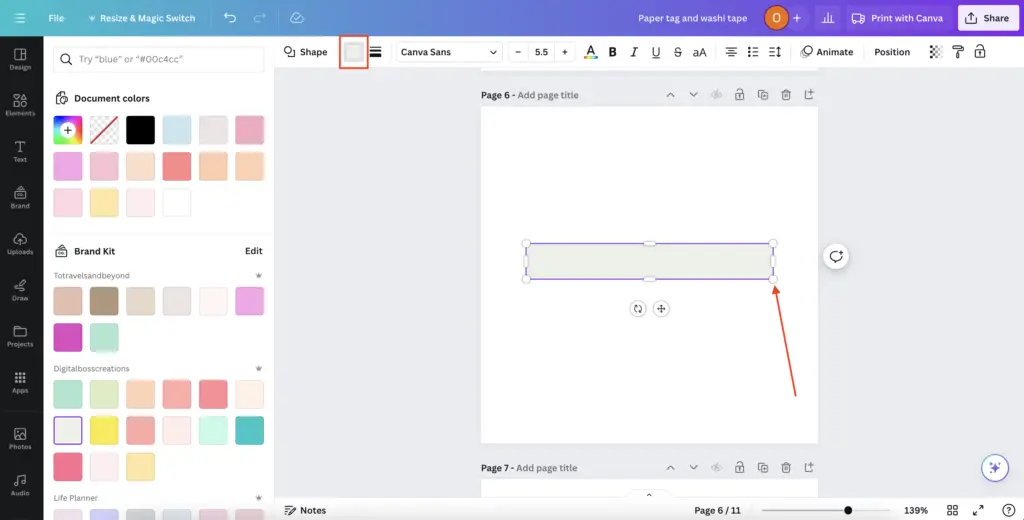
First, duplicate the rectangle size. You can do this by selecting the two squares with the plus sign symbol or copying and pasting the shape.
After you’ve duplicated the rectangle shape, adjust the size so it’s a tiny tip that you can place at the beginning of your tag.
Next, change the colour using the colour tab.
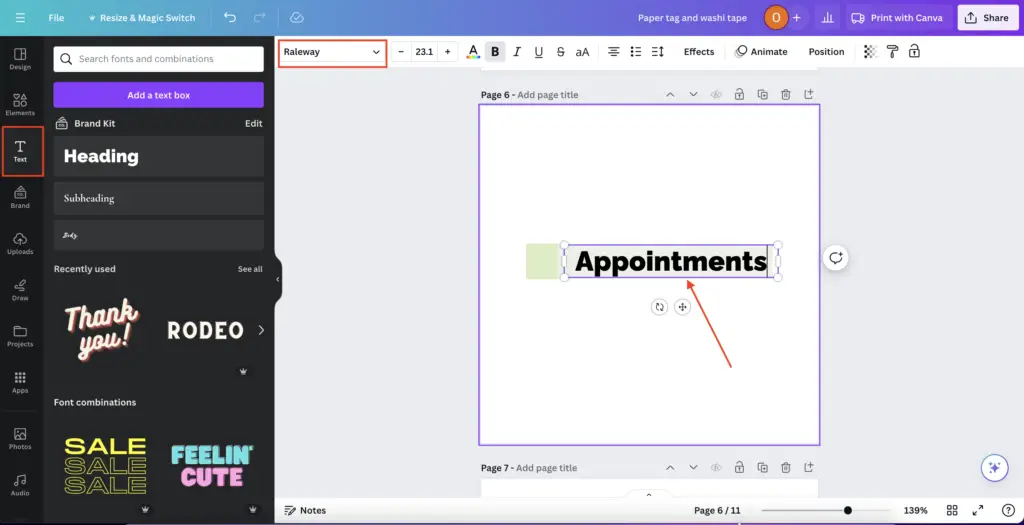
This part is optional, but you can add text to the tag by selecting the ‘Text‘ tab on the left-hand ribbon.
Change the font by using the dropdown menu on the top ribbon.
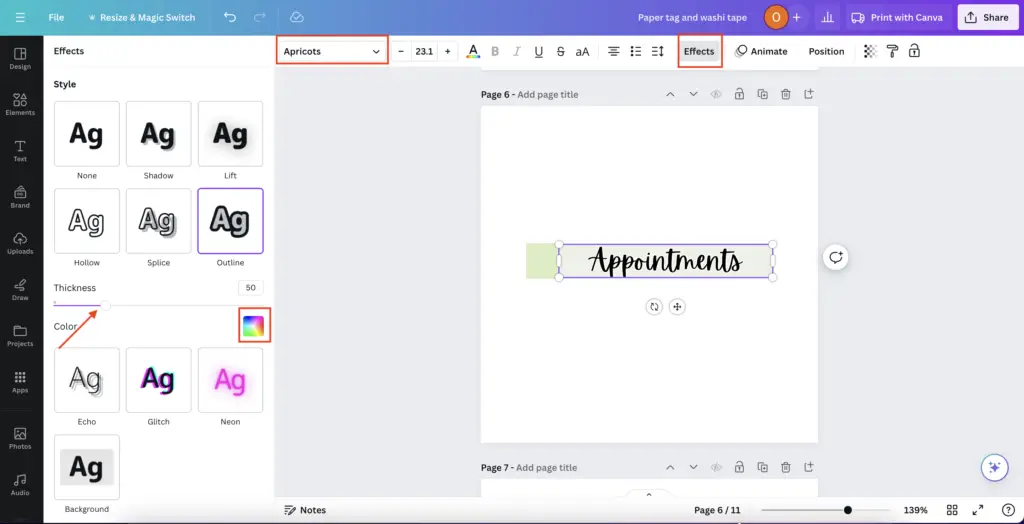
If you want to take your paper tag to the next level, you can add effects to the text.
Select the ‘Effects‘ tab on the top ribbon to add effects.
After, you can select the effect you desire. I used the ‘Outine‘ effect with a white outline for this design.
Creating Functional Digital Stickers
One down, two more to go!
Next, we will create a notepad digital sticker.
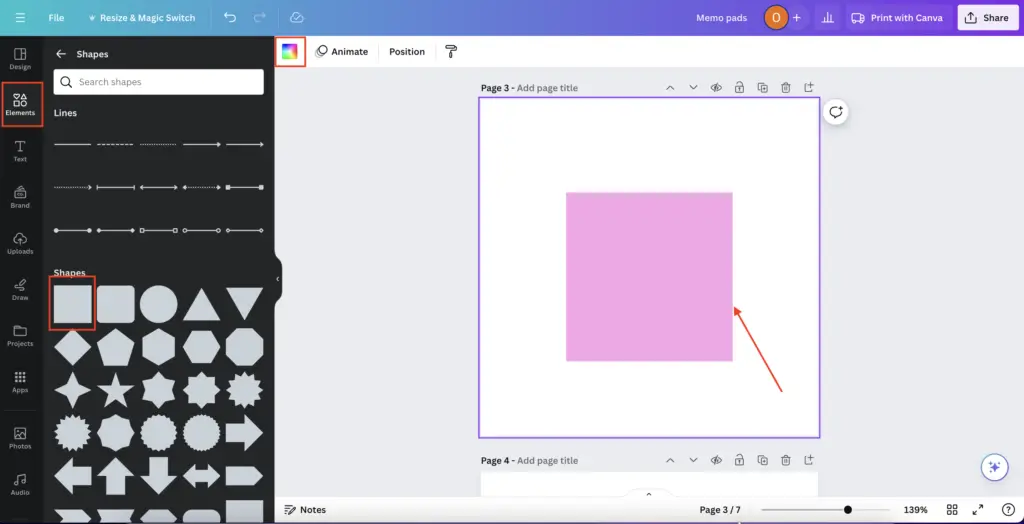
Again, to create this digital sticker, we need the square shape, which is via the ‘Elements‘ tab on the left-hand ribbon.
To change the colour of the shape, select the colour tab on the top ribbon.
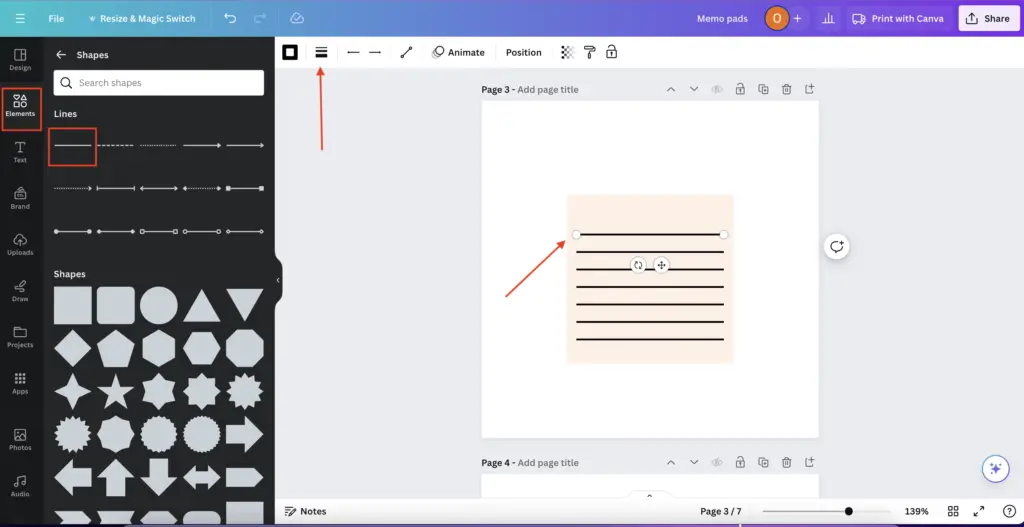
As with all notes paper, there are lines, so we need to create some lines for our design.
Select the ‘Elements‘ tab to add lines and select your desired line.
Place and adjust the line accordingly.
Next, duplicate/ copy and paste the line to create the note lines.
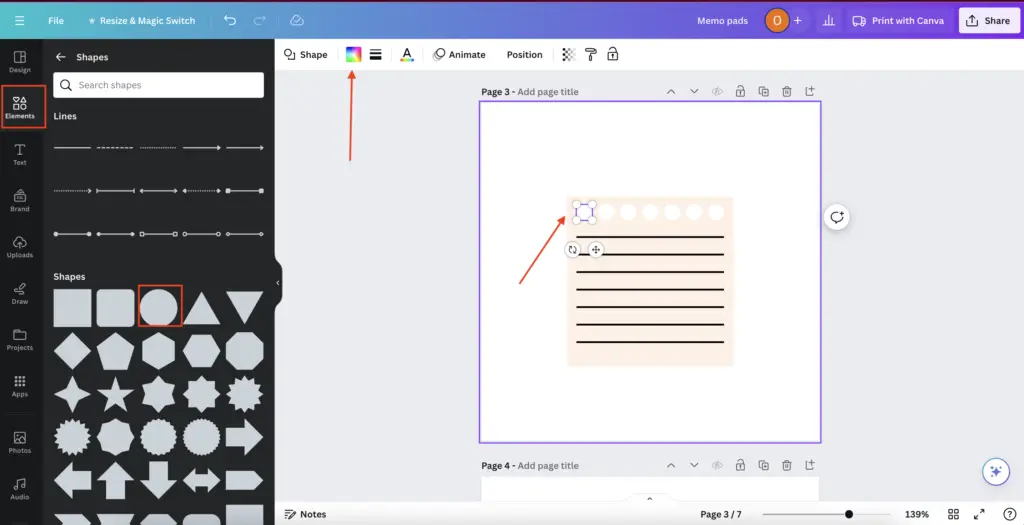
Lastly, I’ve added some circle shapes at the top of the design to create the notepad effect.
This mimics the hole punches that you get on notepads.
To add your circles, simply head over to shapes and add the circle shape.
Adjust the circle size and change the shape to your appropriate colour.
Place the circles in a line right at the top of the design.
Creating Digital Stickers using Canva templates
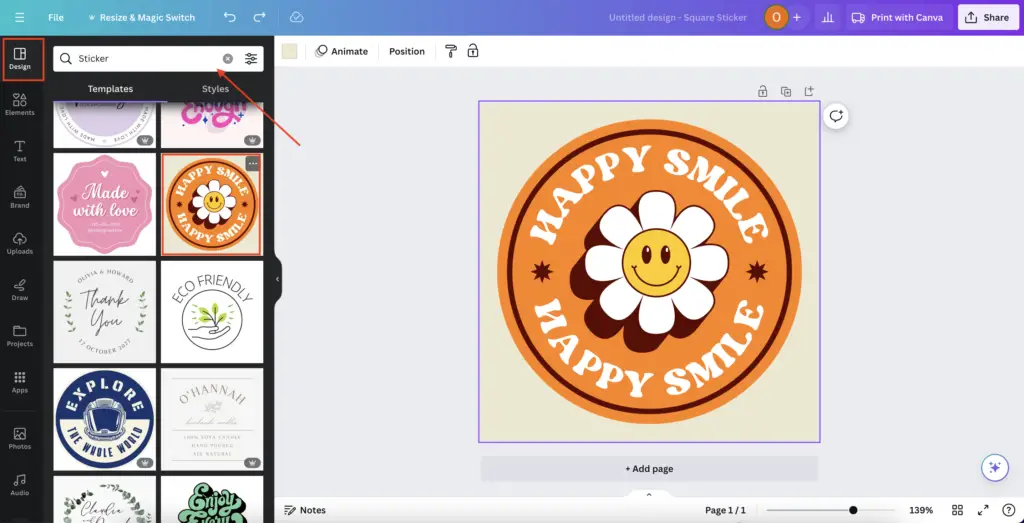
For the last digital sticker design, we’ll be creating a digital sticker using a Canva template.
Start by selecting the ‘Template‘ tab on the left-hand side ribbon.
In the search bar, search for ‘Sticker‘.
I have chosen to use a fun decorative type digital sticker.
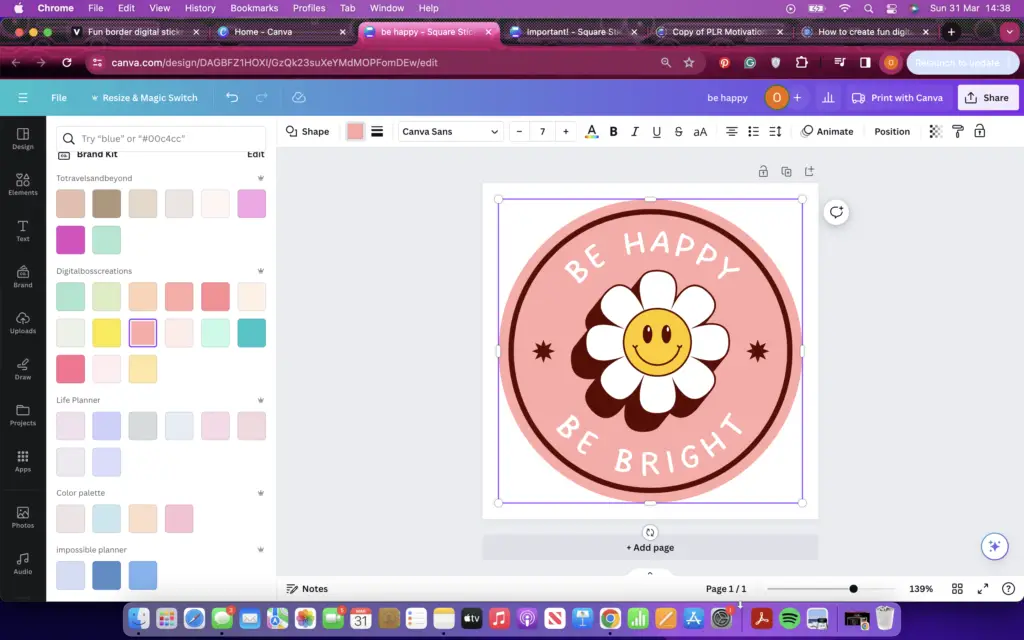
To transform this digital sticker, I’ve changed the quote and font.
Top tip: if you can’t think of a quote or saying, a simple Google search can help provide you with many ideas.

Next, I’ve changed the colour of my design by using the colour tab on the top ribbon.
I also changed the background and accent colours too.
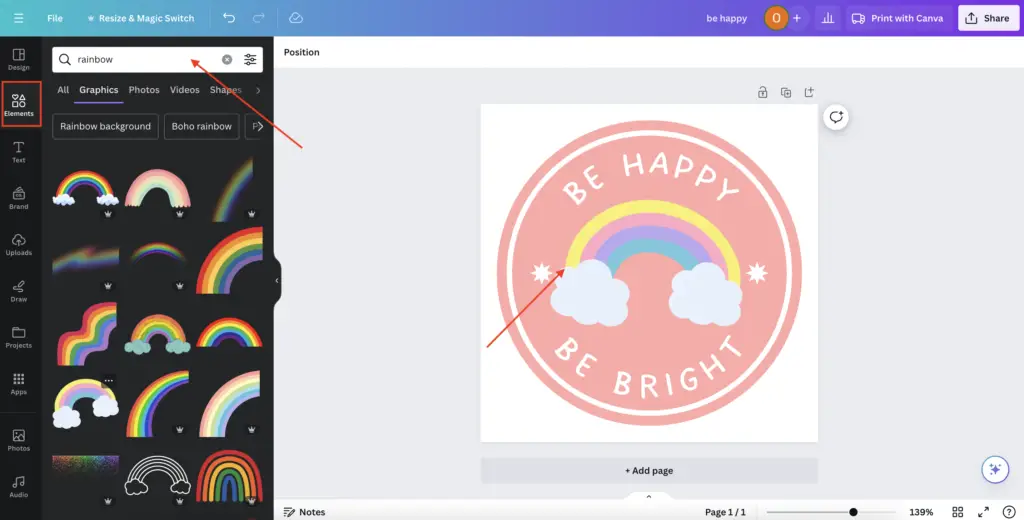
I added a rainbow image to add colour to the design.
To do this, search for a ‘Rainbow‘ in the elements tab’s search bar.
Next, position the rainbow image at the centre of the design.
We are not done yet!
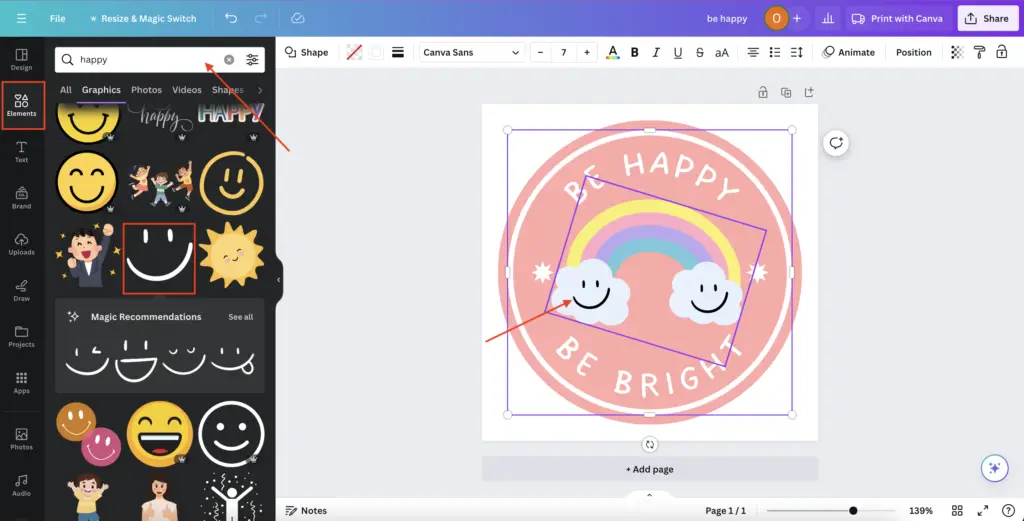
Add smiley faces to the design to make the digital sticker extra fun.
In the ‘Elements‘ tab’s search bar, type in ‘Happy’, select the smiley face and place two faces inside the rainbow clouds.
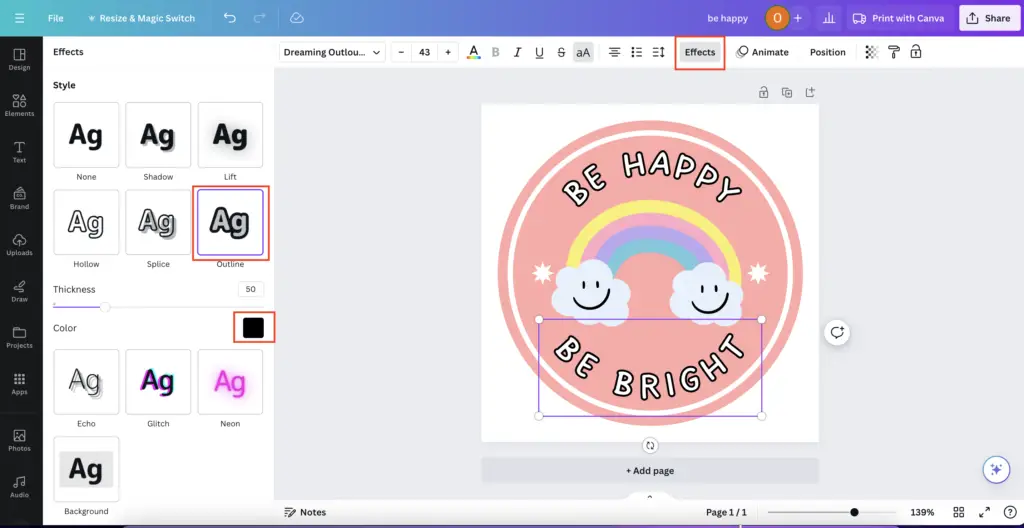
Finally, let’s add an effect to the text.
Select the ‘Effects‘ tab on the top ribbon.
Next, select your desired effect.
I’ve used the outline effect to give the text a black outline.
Section 4: Exporting and Sharing Your Stickers
Exporting Your Stickers
When you’re satisfied with your designs, export them in the appropriate format, such as PNG with a transparent background.
This ensures that your stickers look seamless when used on various platforms.
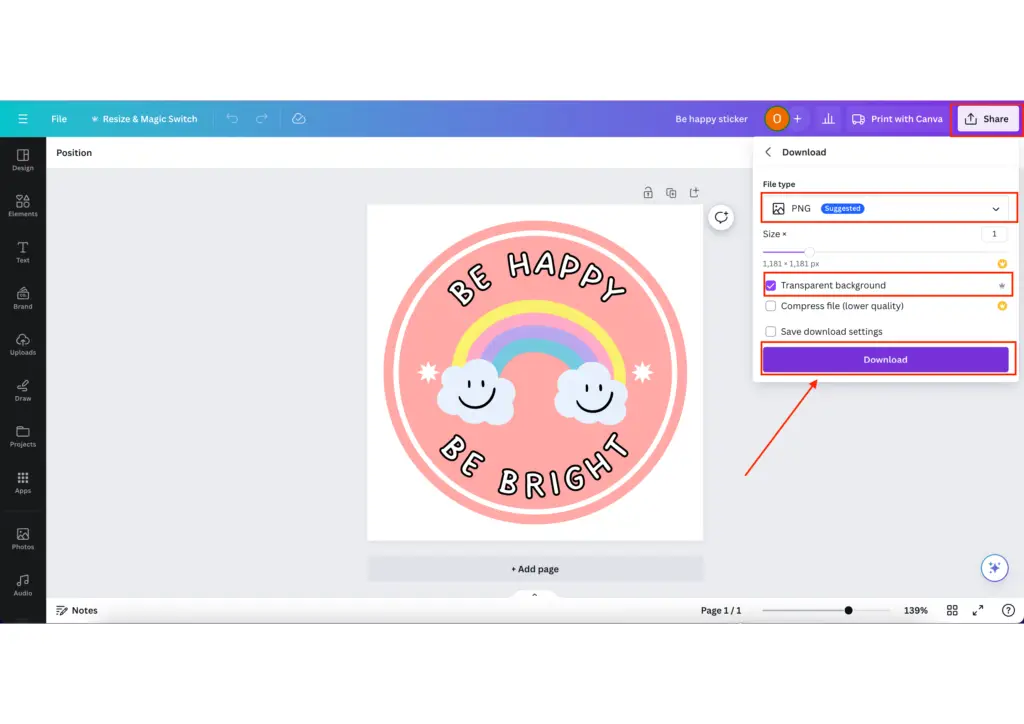
To export your digital stickers using Canva, select the ‘Share‘ tab on the top ribbon.
After select the file type PNG, remember to select ‘Transparent background‘ (only available with Canva Pro. However, there are a ton of free options. Just search on Google!).
Lastly, hit the ‘Download‘ button.
Using Your Stickers
Upload your digital stickers to your desired device.
To use them on annotating apps like Goodnotes or Notability for digital planners, you must first ensure you upload them to your device. Afterwards, you can upload them to the apps and use them on your digital planner or journals.
You can also share your stickers with friends, family, or followers via messaging apps, social media posts, or emails. You can also create sticker packs or albums for easy access and organisation.
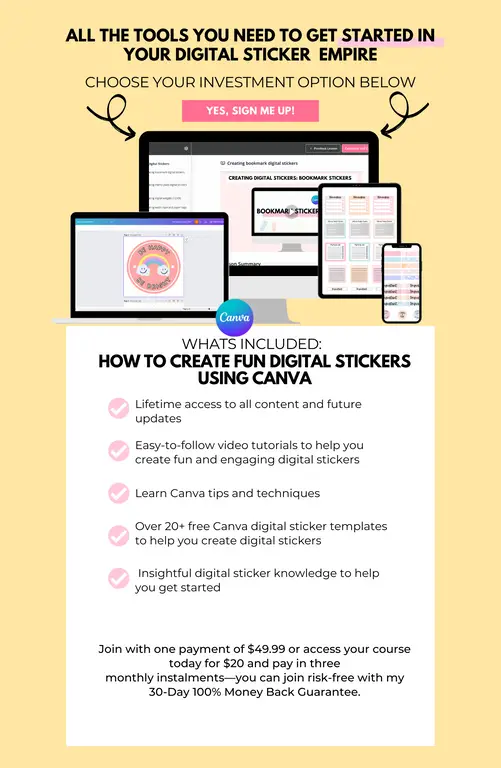
How to Create Fun Digital Stickers on Canva Course
If you want to create digital stickers using Canva for personal use or to build your digital sticker business but don’t know where to start, then this course is for you!
Imagine being able to……..
- Create fun and cute digital stickers for free
- Use the free Canva tool confidently with no graphic design experience
- Learn different Canva techniques
- Create x9 different digital sticker types
If this sounds like you, then…
Best of all, this course is only $49.99—yep, you heard me!
Or you can pay today for only $20 and pay in three monthly instalments.
Final thoughts: A Beginner’s Guide to Creating Digital Stickers Using Canva 2024
And that’s it, folks!
I hope you found this tutorial helpful.
Creating digital stickers with Canva is a fun and accessible way to unleash your creativity and add a personal touch to your digital planners, journals, and online communication.
Whether expressing emotions, promoting your brand, or simply having fun, Canva provides the tools to bring your sticker ideas to life.
So why wait? Start designing your digital stickers today and make your digital planners and journals more colourful and engaging!
Download the Canva digital stickers used in this tutorial, by selecting here.
Additional Tips:
- Don’t hesitate to experiment with different designs, styles, and themes to find what works best for you.
- Explore Canva’s tutorials, resources, and community for inspiration and support.
We hope this guide has inspired you to explore the world of digital sticker design with Canva.
If you want to start creating digital planners to sell on Etsy, remember to check out my Create Digital Planners Like A Boss Babe Course
If you have any questions or need further assistance, please contact me in the comment section below. Happy designing!
You May Also Love:
- The Best Graphic Design Software for Beginners: A Comprehensive Guide
- How to upload your digital planner to Goodnotes the easy way?
- How to make digital stickers using Canva for free
- How to create a digital planner to sell using Canva like a boss
- Canva Free vs Canva Pro: Which one is worth it?
Tools To Use To Help Build Your Digital Planner Empire:
- Try Canva Pro free for 30 days
- Get 30-days free Skillshare access
- Visit my PLR Canva Template Shop
- Download amazing graphics and fonts with Creative Fabrica and Creative Market
- A helpful guide to opening an Etsy store
- Get your 40 free Etsy listings
- My Etsy shop (for digital planners and printables) use the Promo code: THANKYOU22 for a 5% discount on all purchases.
- Learn how to create incredible digital planners to sell on Etsy with the Create Digital Planners Like A Boss Babe Course