*This post may contain affiliate links, meaning If you use these links to make a purchase, I may earn a small commission at no cost to you. Thanks.*
Are you seeing all these amazing digital planners on Instagram and Pinterest with cool text effects and thinking, how can I do that?
Or maybe…..
You think the designers who create text with effects must be graphic designers using Adobe Illustrator?
Nope, you’re wrong
Let me let you in a little secret! They are using Canva secret text effects tool.
And you can too.
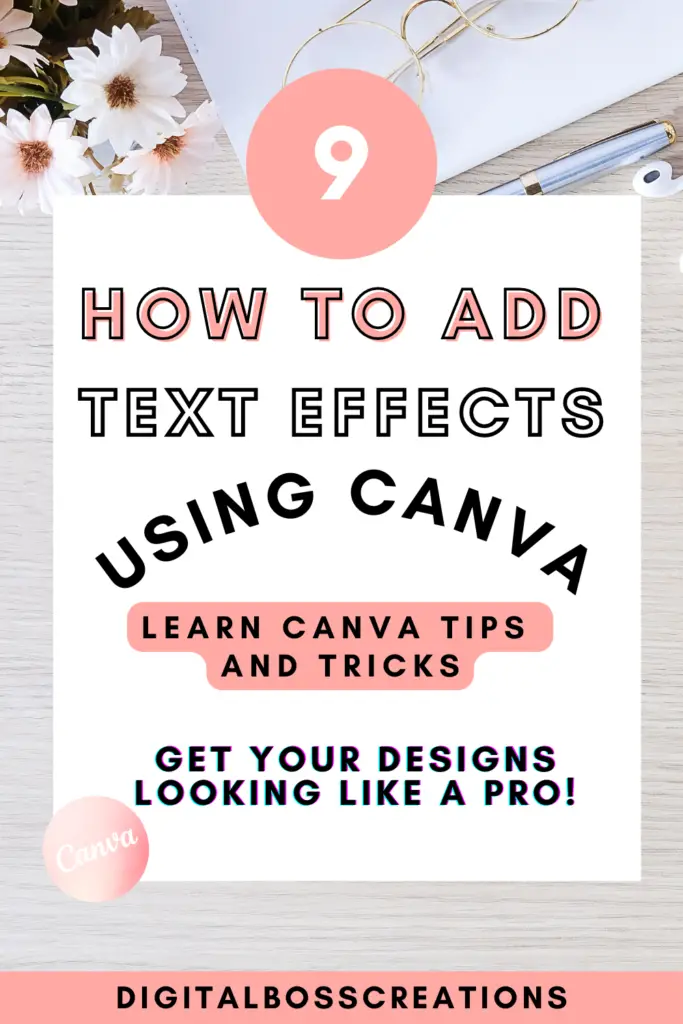
Here is a simple guide to using text effects in Canva
But first…..
What exactly is Canva?
Canva is the best graphic design software tool to help you create any type of design.
And I’m not exaggerating.
You can use Canva to create social media posts, booklets, letters, resumes, invitations, Ebooks, journals, digital planners, and more.
Canva has various elements, shapes, graphics and fonts, making it super easy to create your designs.
The best thing about Canva is that it has a free version that gives you TONS of resources and tools.
However, Canva Pro (the paid version) has been my holy grail for years!!! It’s everything included in the free version and more. It has been the best investment I have made!
You’re in luck because, just for you, I have a 30-day Canva Pro trial to help you get your designs, whether you are creating digital planners, printables or social media posts to the next level, or you might want to have a play around with it to see what it’s like. Whatever the reason, I would take full advantage of this 30-day Canva Pro trial, as it is for YOU!
How to add effects to text using Canva
First things first, you need to add text to your design.
To do this, select the Text tab on the right-hand side and add your text. You can change the font by using the drop-down at the left far top.
After this, to add effects to your text, you need to ensure you select your text and then press Effects.
There are nine text effects in Canva, but they vary in options and give you many ways to modify and edit the effects.
Let’s take a look at the text effects below.
1. Shadow text effect
Adding shadows to your text gives your text more dimension and highlights the appeal of your text.
You can use shadows on your digital planner covers, posters, Pinterest pin, or anything where your text is the main vocal point of your design, and you want to enhance your text to be more engaging.
In Canva, you can modify the shadow effects:
- Offset
- Direction
- Blur
- Transparency
- Colour
2. Lift text effect
The lifting effect is awesome; it makes your text appear as if it’s being lifted off the page.
The effect works well with posters, invitations, and booklets.
Adjusting the shadow intensity is the only change you can make with this effect in Canva.
3. Hollow text effect
The hollow effect in Canva is one of my favourite text effects. This effect reminds me of bubble writing, which I did much of as a kid.
You can use this effect for many things like Instagram posts, digital planner covers, educational printables, and fun, quirky designs.
With this effect, you can only adjust the thickness in Canva.
4. Splice text effect
Now, the splice text effect is something that I use pretty regularly, primarily for my Pinterest pins.
This effect gives your text a whole new level of enhancement. It adds appeal and makes your text pop.
You can use this effect for your social media post, Pinterest pins, posters, or anything where you want your text to pop even further.
In Canva, you can modify the splice effects:
- Offset
- Direction
- Thickness
- Colour
5. Echo text effect
The echo effect does what it says! It gives your text an echo – but in a cool way.
This effect gives your text more depth and expression.
You can use this text effect for posters, social media posts, printables, digital planner covers, and Pinterest pins.
In Canva, you can modify the echo effects:
- Offset
- Direction
- Colour
6. Glitch text effect
The glitch text effect is an incredible way to add the wow factor to your text.
It will make your text come to life – literally! Using this glitch text effect gives the illusion that your text is moving.
You can use this text for digital stickers, social media posts, posters, and Pinterest pins.
In Canva, you can modify the glitch effects:
- Offset
- Direction
- X2 Colour
7. Neon text effect
The neon text effect is one way to engage your users/customers.
The neon effect can transform any plain text into an appealing, dramatic form of art.
You can use this text for posters, Pinterest pins, digital stickers, and printables.
With this effect, you can only adjust the intensity in Canva.
8. Background effect
Adding a background to your text will give your text the breathing room to stand out!
If you want to add something extra to your text without adjusting it, adding a background could be worth playing around with.
You can use this effect for posters, printables, digital planners, Pinterest pins, and social media posts.
In Canva, you can modify the backgrounds:
- Roundness
- Spread
- Transparency
- Colour
9. Curve text effect
The curve effect has been something I’ve been playing around with recently.
And I’m in love. I don’t know why it took me so long to use this feature sooner.
But the curve effect allows you to.. yep, your right, curve your text.
However, let me tell you, it can help to transform your design into a graphic design masterpiece (lol).
You can use this text for anything, from posters, social media posts, Pinterest pins, digital planner covers, digital stickers, and printables.
With this effect, you can only adjust the curve in Canva.
FAQs: How to add effects to text using Canva
- How to make your text stand out in Canva? o make your text stand out in Canva, you can use one of the nine free text effects. The text effects include Shadow Effect, Lift Effect, Hollow Effect, Splice Effect, Echo Effect, Glitch Effect, Neon Effect, Background Effect, and Curve Effect.
- How do you make words pop in Canva? You first need to look at all the font options Canva has or research different fonts that catch your eye ( you can use Pinterest, Google, Etsy, and Creative Fabrica). After you’ve found the perfect font, you can use the different Canva text effects for your words to ensure that your words pop.
- How do I make text more attractive in Canva? To make your text more attractive in Canva is by using the text effect tool. Once you’ve placed your desired text and font on your design, select Effects in Canva and play around with all the different effects until you’ve found one that meets your needs.
Final thoughts: How to add effects to text using Canva
And that’s it, folks.
That was a mini Canva guide that I hope you found helpful.
We went through how to add effects to text using Canva and the nine different types of text effects that Canva offers.
Adding these text effects is entirely free to do on Canva.
Yep, free!
So try it out and let me know what you think.
Thanks for staying with me this far, and let me know your thoughts on this blog post in the comment section below.
And remember…..
Use my link and sign up to start your 30-day free Canva Pro trial now!
You May Also Love:
- 10 helpful Canva tips and tricks to make designing much easier
- Canva Free vs Canva Pro: Which one is worth it?
Tools To Use To Help Build Your Digital Planner Empire:
- Try Canva Pro free for 30 days
- Get 30-days free Skillshare access
- Visit my PLR Canva Template Shop
- Download amazing graphics and fonts with Creative Fabrica and Creative Market
- A helpful guide to opening an Etsy store
- Get your 40 free Etsy listings
- My Etsy shop (for digital planners and printables) use the Promo code: THANKYOU22 for a 5% discount on all purchases.
- Learn how to create incredible digital planners to sell on Etsy with the Create Digital Planners Like A Boss Babe Course