Creating engaging Etsy listing photos that generate sell-worthy digital planners may seem tricky, but believe me, it’s not!
You need a great plan and template to help you create the perfect Etsy listing photos for your digital planner.
In this post, I will give you top tips for creating the alluring Etsy listing photos that will get your customer’s attention and generate sales (cha-ching!)
Download your free Canva Etsy photo listing template here
But first, let me introduce you to Canva….
Intro to Canva
Canva is an incredible graphic design platform for creating designs such as planners, presentations, posters, social media templates, etc.
I use Canva to create my Etsy photo listings as it’s straightforward and saves me a lot of time.
Canva has all the tools, resources and functions you need to create an Etsy photo listing.
Also, one of the great things about Canva is that they have a free version, which gives you an insane amount of valuable functions to help you create your designs.
However, I recommend Canva Pro as it gives you everything included in the free version and more – much more!
Also, check out my Canva Free vs Canva Pro post to help you decide which version is best for you.
How to create a perfect Etsy listing photo for digital planners
*This post may contain affiliate links, meaning If you use these links to make a purchase, I may earn a small commission at no cost to you. Thanks.*
1. Start researching away
I am and will always be a massive advocate for research. Researching the different Etsy listing photos in your digital planner niche will help you scope out the competition, spark some ideas and gauge what others are doing.
Use the Etsy search bar to research!
Things to look for when researching:
- Popular digital planners
- Bestsellers
- What are the similarities with the competition’s Etsy listing photos
- What keywords have the competition used in their images
- What sort of graphics, background, and fonts have the competition used
These all come to play in your creating approach for Etsy photo listings.
I believe you would create amazing click-worthy Etsy listing photos with a good research strategy.
2. Plan out your designs
Now that you have an idea of what your Etsy photo listing looks like, this is the opportunity for you to plan your design.
You can use Word, PowerPoint, Google Docs, OneNote, or a notepad – whatever will help you plan your design.
Note down what fonts you’ll use, the background colour, elements, and critical things to mention.
Having a plan will help guide you when you start creating your Etsy photo listing.
3. Try to use all ten photos
I’ve noticed with my Etsy listings that the ones that generate the most sales are the listings with the whole ten photos on display.
There are other factors when comparing your listings, like keywords, tags, etc.
However, having ten photos in your Etsy listing gives you more of an advantage and visibility.
Also, some customers like to see everything included in the product, so having the full ten photos allows just that.
eRank, an Etsy SEO tool, also suggests using ten photos because it will help to increase your conversion rate.
4. Do I need a video?
Technically no. Although, having a video gives you that extra edge.
According to Etsy, buyers love videos and are mostly to buy your product with a video included in the listing.
The video can only be between 5-15 seconds ( which does seem like a lot of time but trust it is).
I recommend videos that showcase the planner/products used in real life, or you can use videos to give your audience a sneak peek of your planner.
5. What are the size and policy requirements for Etsy listing photos?
The recommended photo size of Esty’s listing photos is 2600 (wide) x 2000 (tall) px.
Below is an extract taken from Etsy about their photo listing policy
“The listing images must be of the item itself, not a rendering or stock photo. When you upload images, you confirm that you have all necessary rights to those photos and comply with our Intellectual Property Policy. Listing photos should be of the finished product made by you. Different handmade techniques produce different results, and it’s essential that your images accurately reflect the product that a buyer will receive. Mockups may be used for digital items because they correctly depict them.”
Ensure you follow the Etsy image guidelines to assure you don’t incur any problems with Etsy.
6. Convert your Etsy photo listing into a template
Once you have your Etsy listing photos, convert them into templates.
Trust me, making templates not just for my Etsy listing photos but for my LIFE has made things much more manageable.
This will save you time when you create other products requiring photos.
Also, it will allow for cohesiveness throughout your Etsy shop, which will help to showcase your brand and bring in those customers.
Download your free Canva Etsy photo listing template here
7. Make your thumbnail image engaging.
To entice people to your product, you need an engaging thumbnail image.
Your thumbnail needs to be click-worthy and attractive.
Include a catchy title like ‘the ultimate fun academic digital planner’ or ‘the fabulous feminine digital planner’.
Include sell-worthy colours like red, yellow, blue, green, pink, and black.
If you have a freebie, discount, or bonus, mention it on your thumbnail image.
And lastly, include a clear photo of your digital planner/ products. What are you selling?
Make sure you don’t overboard and jam-pack your image with many things.
You need the right amount to entice your customer.
For thumbnail images, use an aspect ratio of 4:3 (570 x 456px) to help keep the image eye-catching.
Below are examples from my Etsy shop – digitalbosscreations.
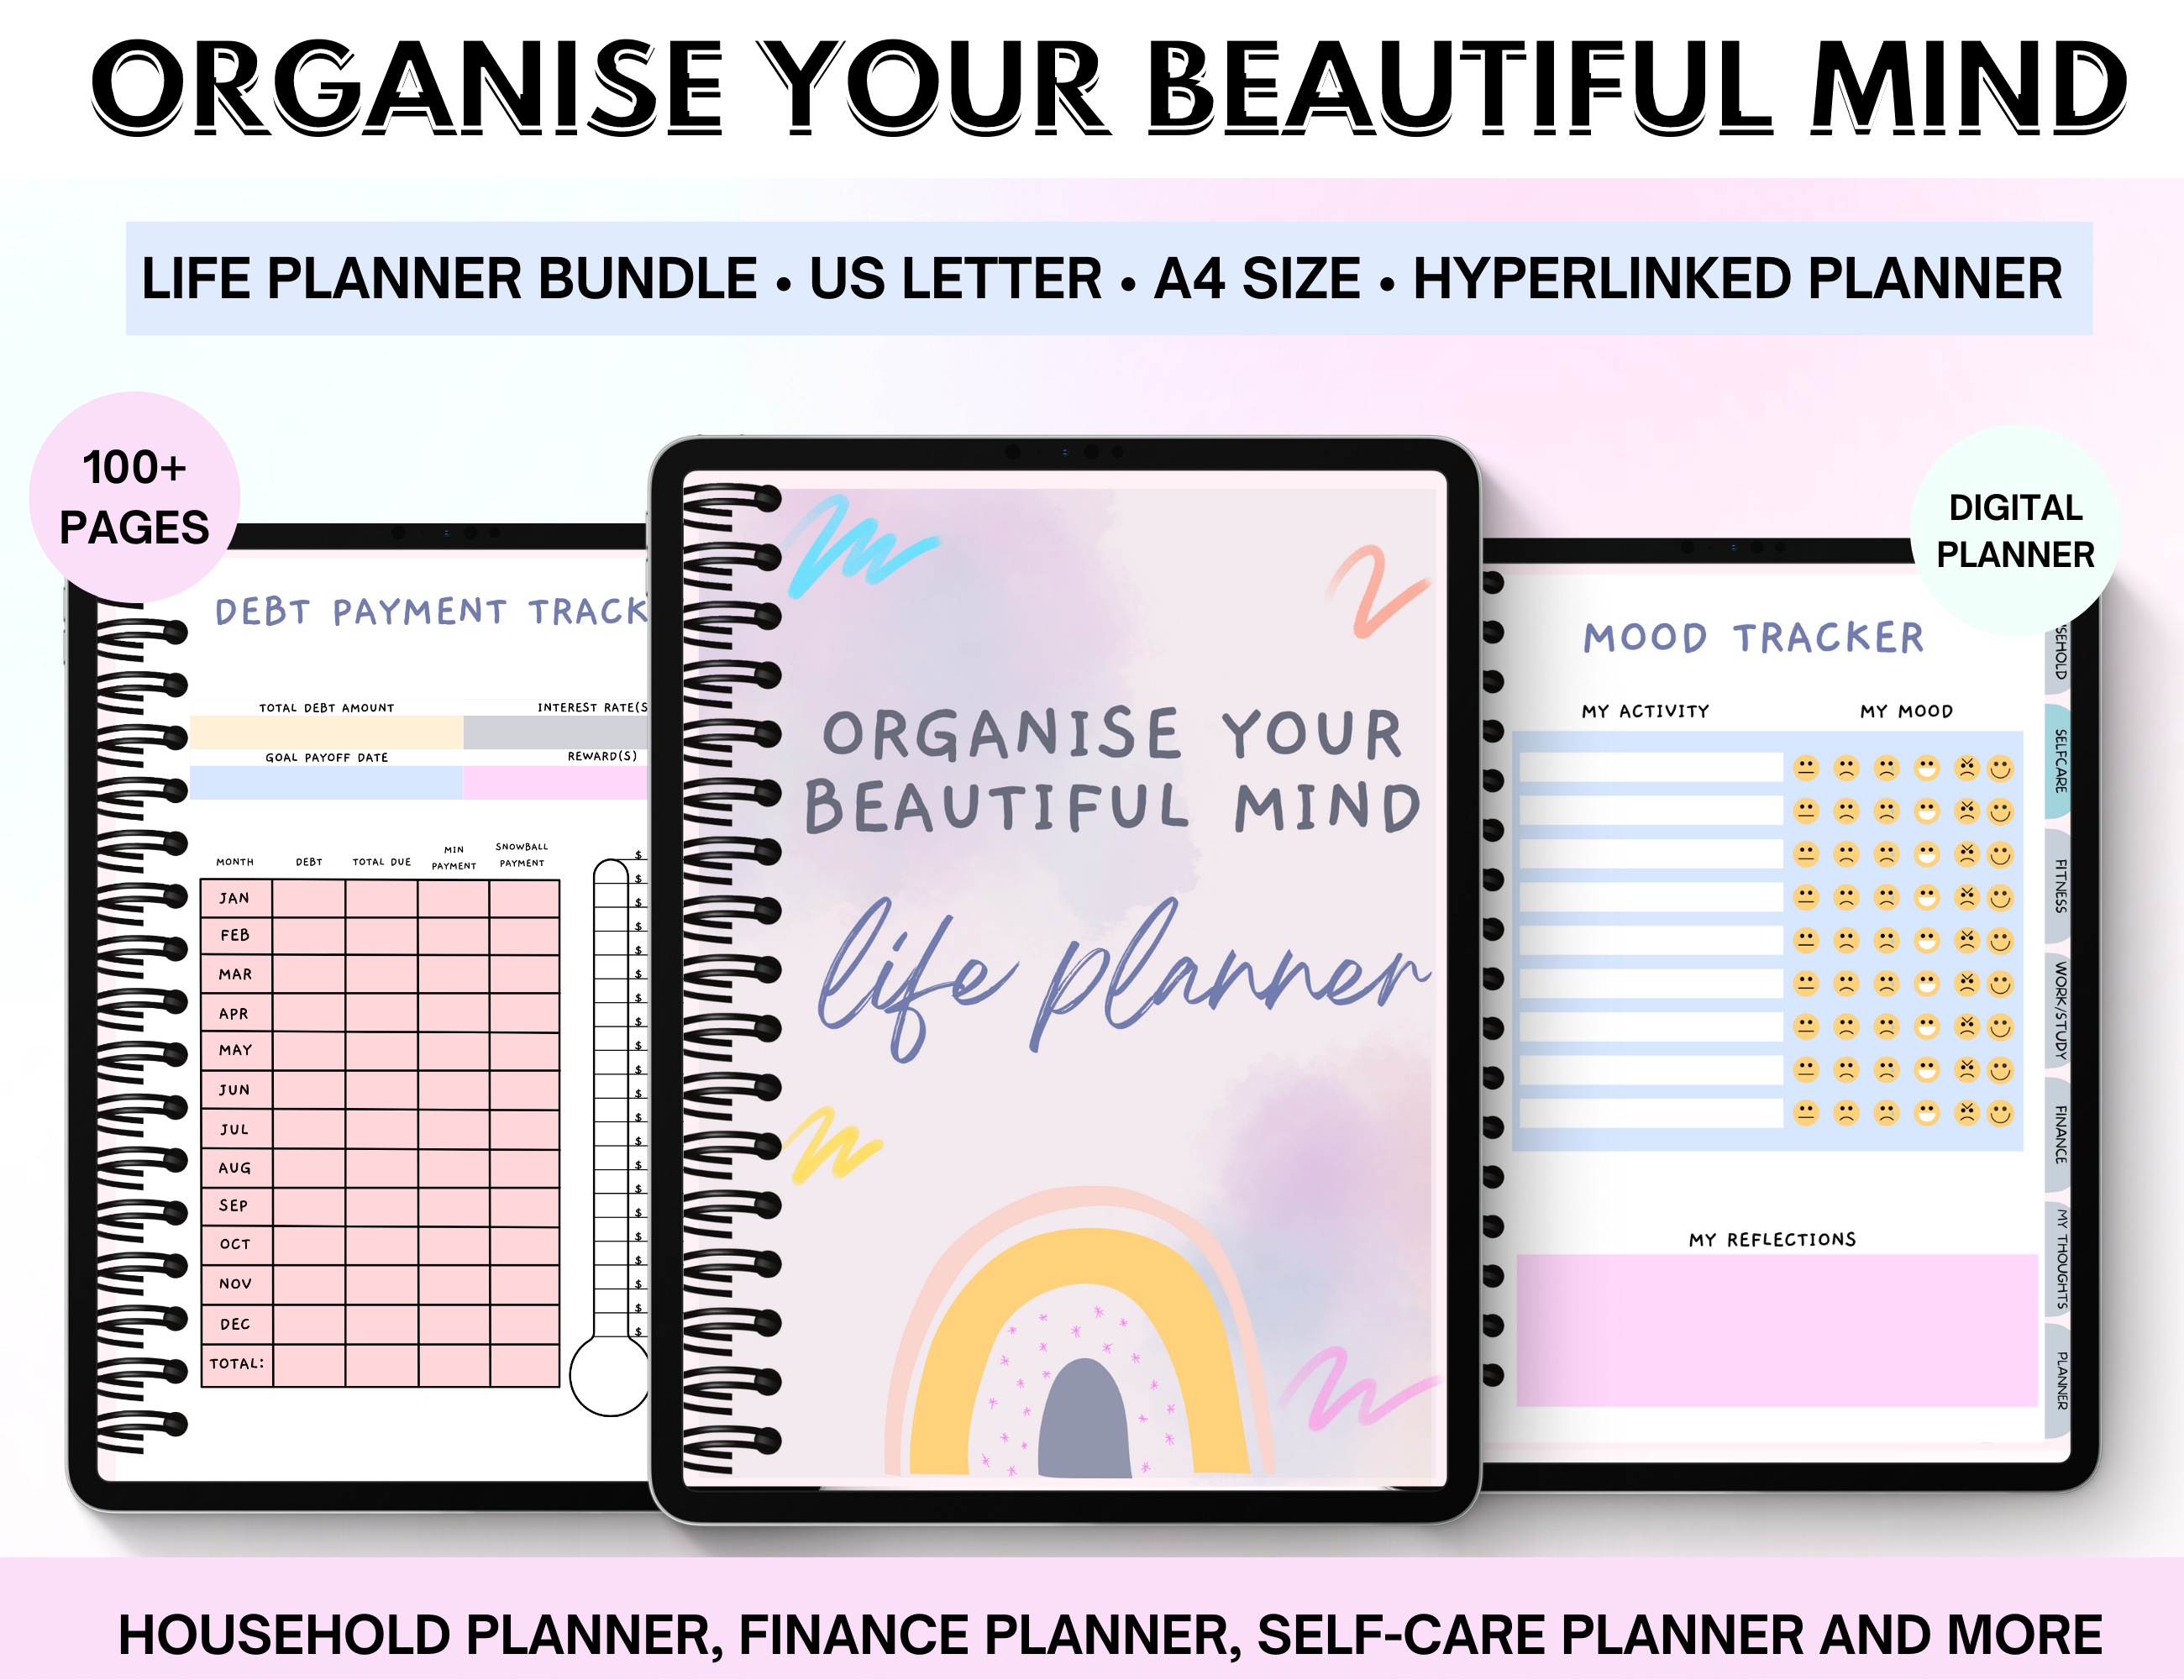
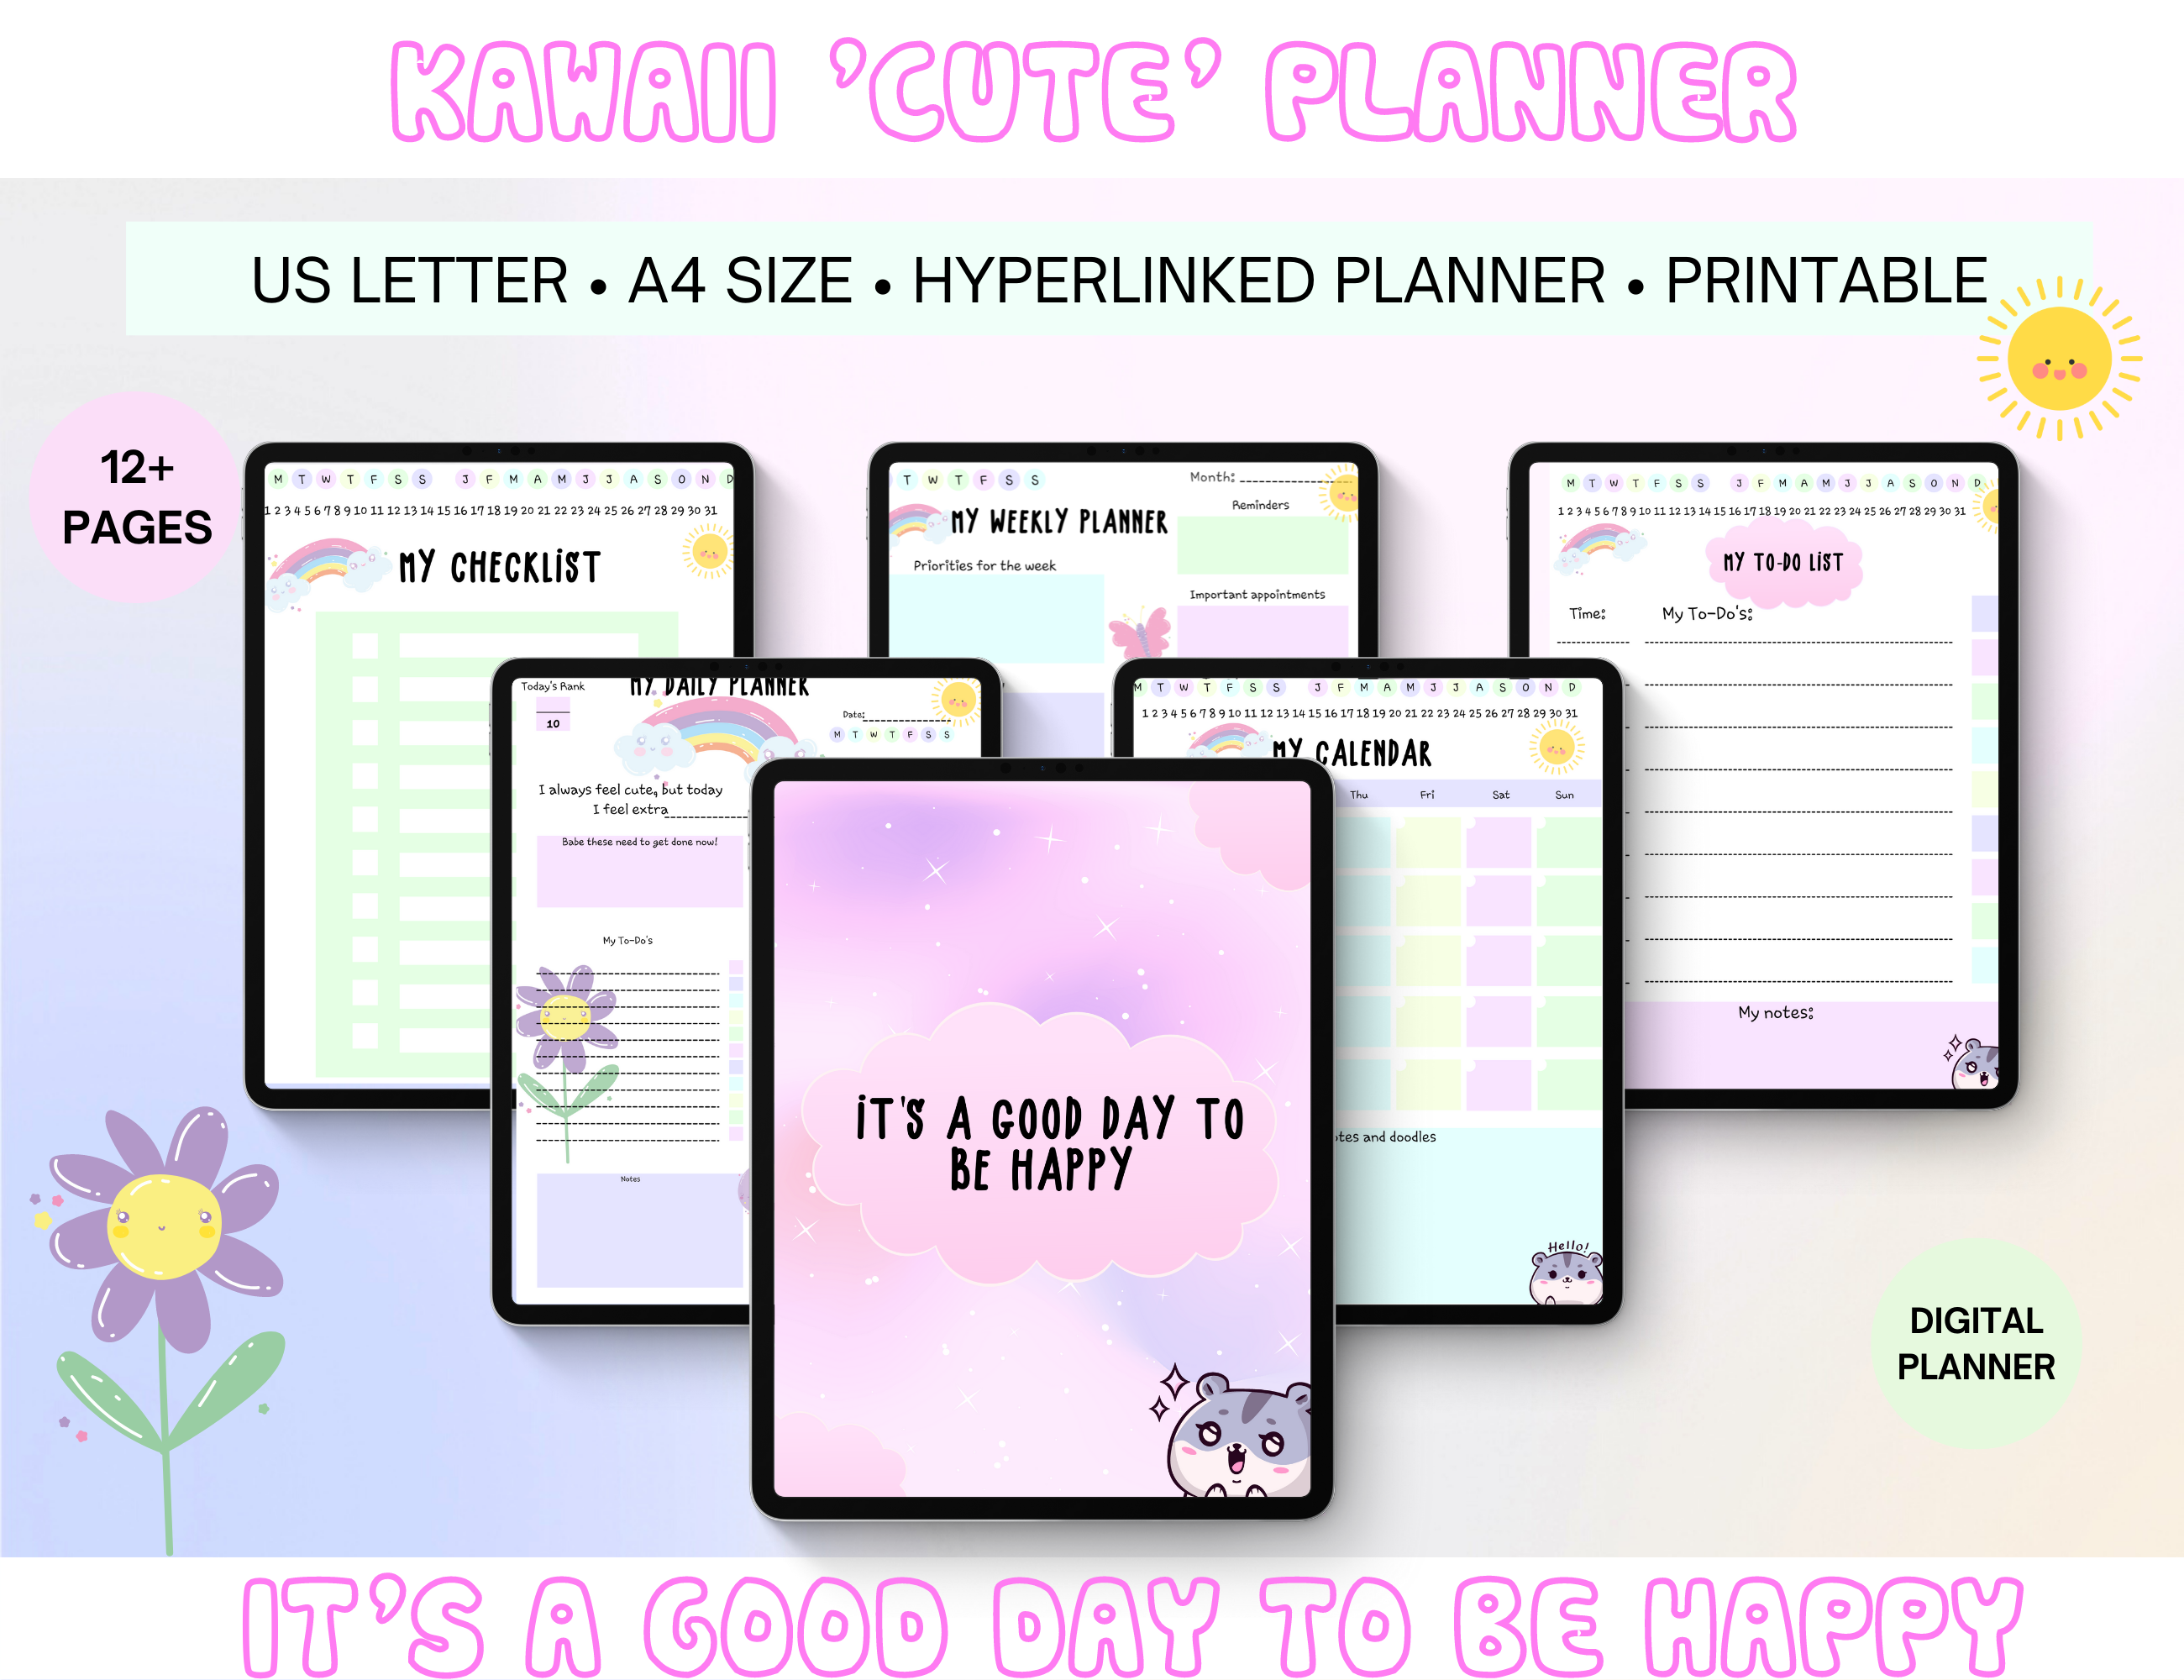
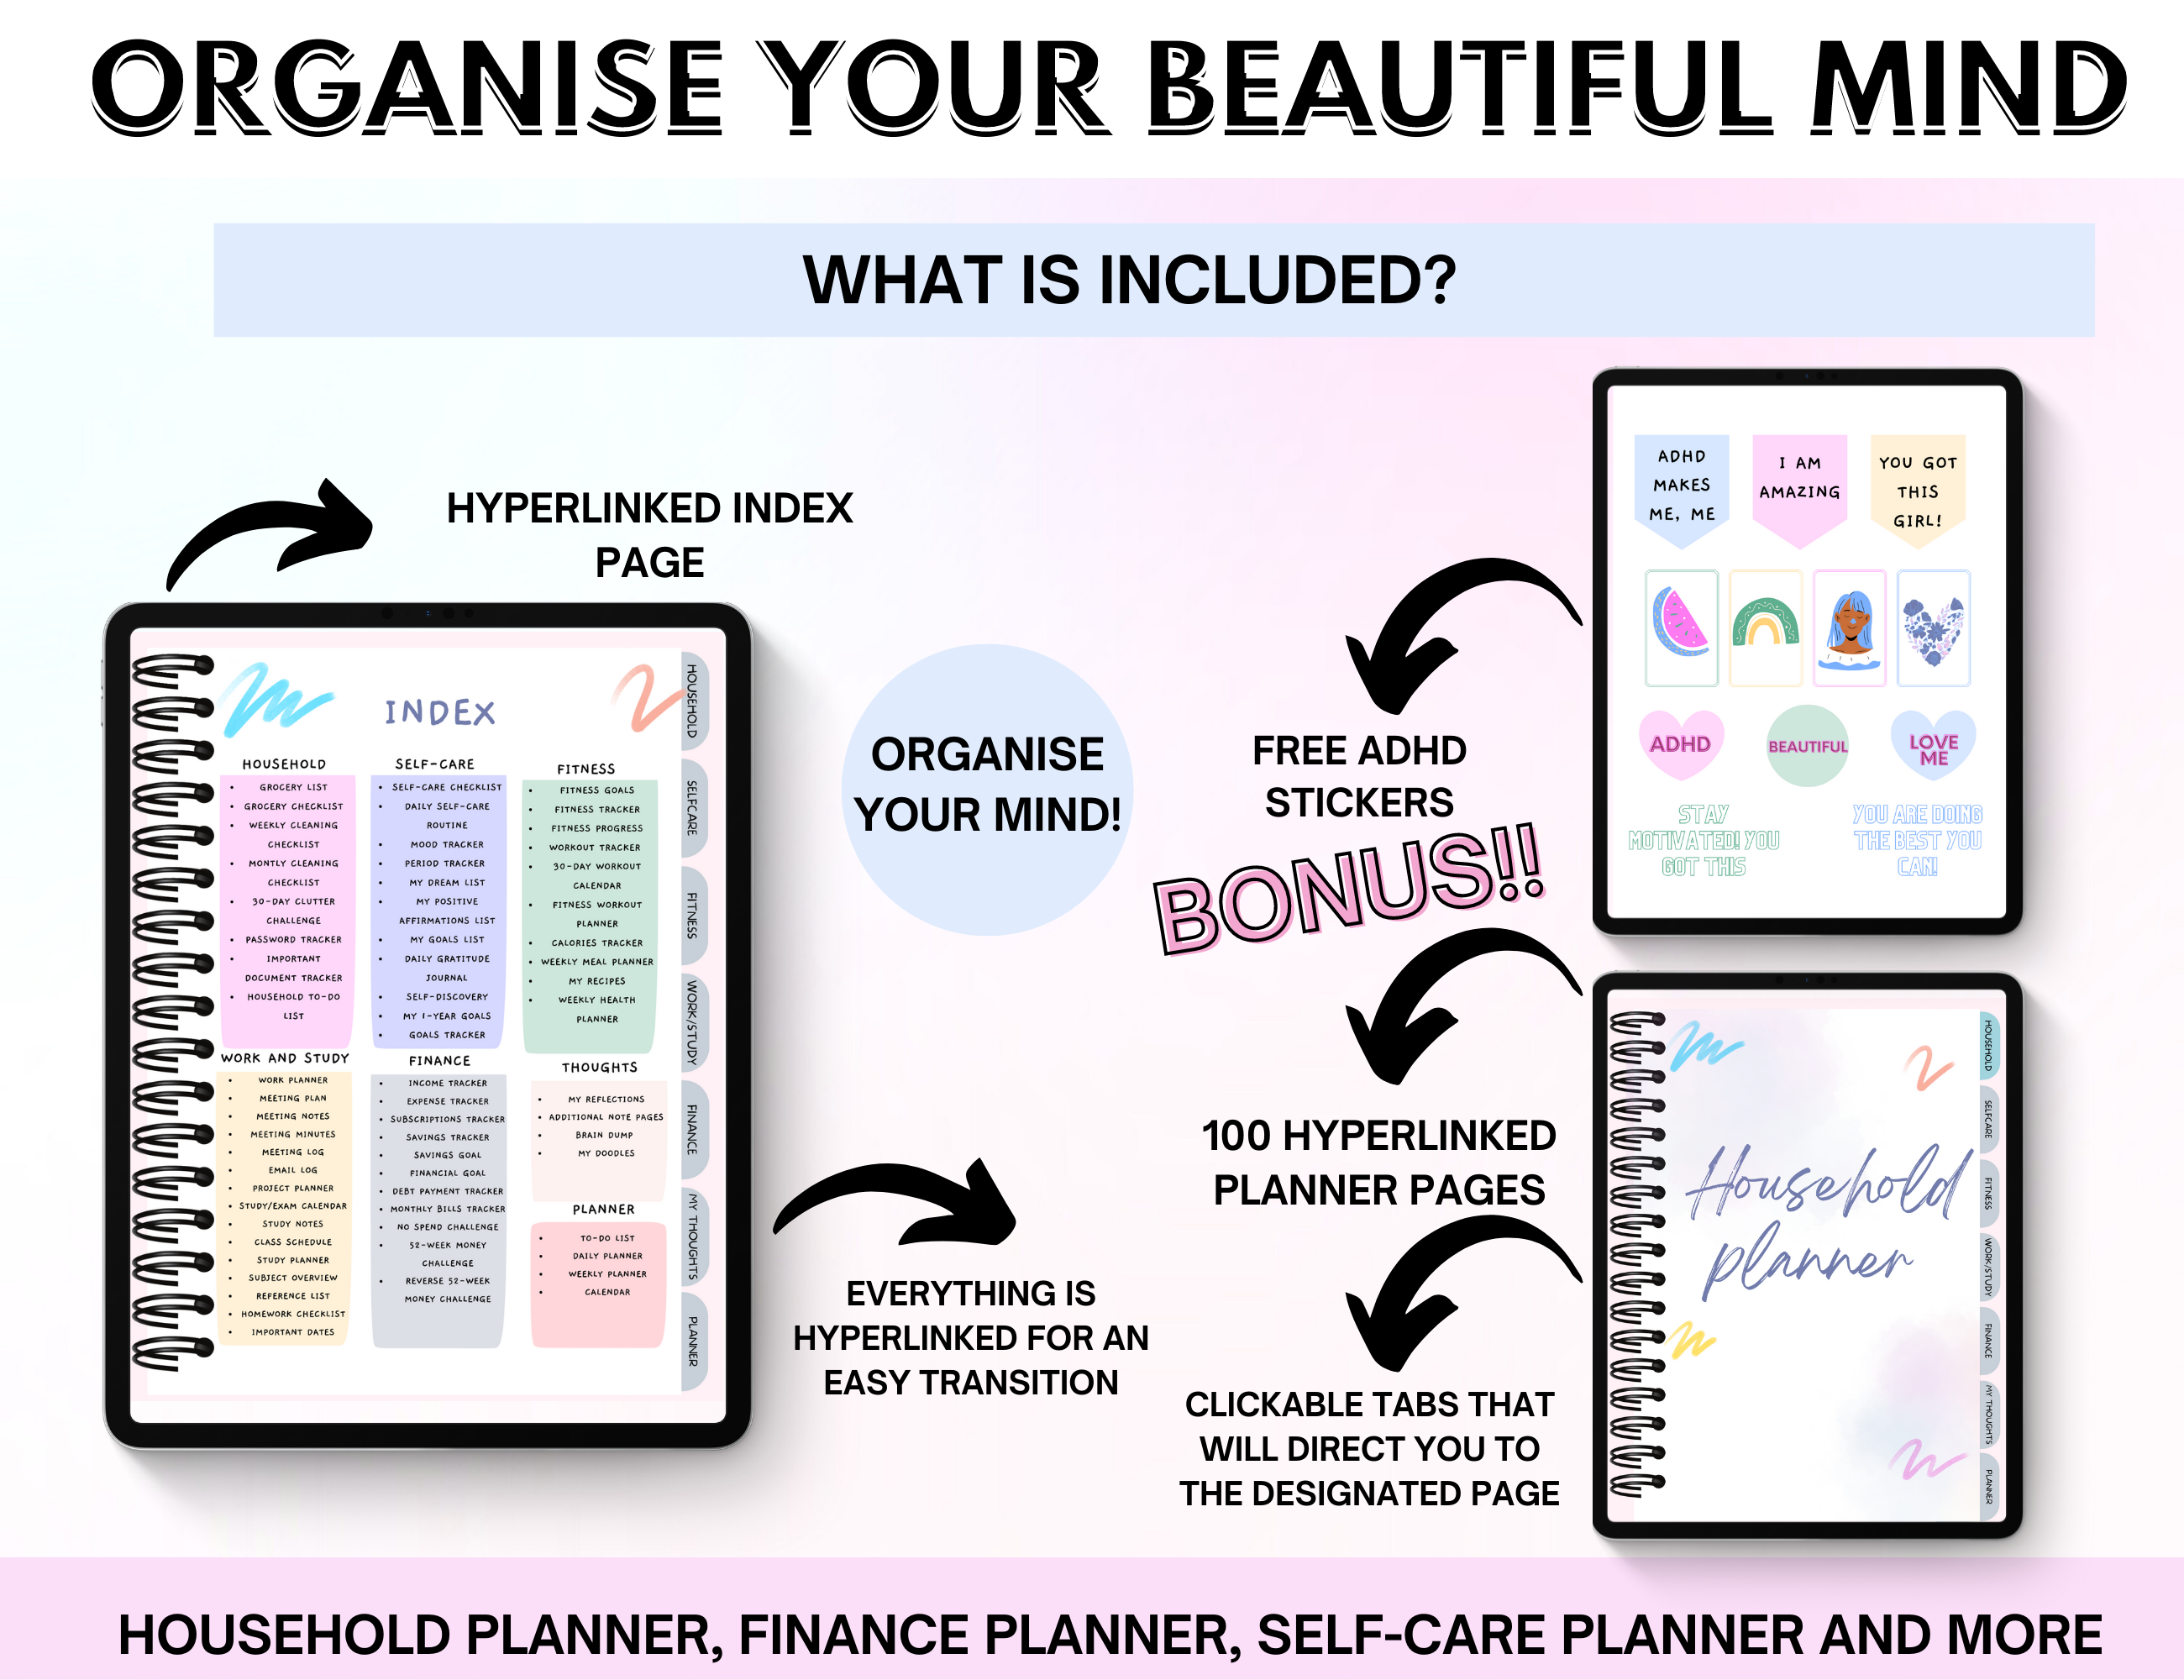
8. Ensure you include the main features and what is included in the planner.
Here you want to showcase the digital planner in all its glory. Include the planner pages and concisely explain what that page is about.
If it has hyperlinks, point that out too.
For example, if you have an academic planner and one of the planner pages is a monthly timetable, showcase that and highlight that the customer can use this page to view their timetable at a monthly glance. Point arrows to where the customer can input data, add arrows to the hyperlink parts and briefly explain what it does.
Make sure you try and add all the features the planner offers – you want to give the customer as much information about the planner as possible.
Also, if you have freebies highlight them here – make sure the customer knows that this is included and is free (a bonus).
If it comes in multiple sizes, add pictures of the sizes, and explain the measurements.
Explain how to use the planner use arrows and concise, clear words
9. Explain how the customer can use the planner
Ensure you provide clear guidance on what devices the digital planner can be used.
Make sure you add pictures of the devices!
Make it visually appealing with transparent advice and instructions.
10. Why mockups?
With digital product images, you must be careful taking real-life images because they confuse the customer. That’s why creating mockups is best.
The one thing that customers love is to see how the product/ digital planner can be used, and including mockups gives the customer insight into what to expect with the digital planner.
Canva has many mockup templates that you can use.
Creative Fabrica is also a fantastic website with thousands of graphics, including mockups, for an affordable price.
11. Explain clearly what the customer will receive and any legalities.
Here you need to highlight what the customer will receive and if there are any essential things they should know.
For example, if it’s a digital download, no physical product will be sent to them.
Or it’s a PDF file with no refunds or exchanges.
You want to have clear lines of communication with your customers and to ensure that there are no misconceptions about your product.
12. Remember to thank your customer and up-sell products
In this image section, you could include a thank you for supporting your small business and any up-sell products like bundles or deals.
You could also add coupons or use this part to promote your website or social media.
FAQs
- What is the best aspect ratio for Etsy photos? Etsy recommends an aspect ratio of 4:3
- How do I create an Etsy product photo? The best way to create an Etsy product photo is by using Canva. Canva has all the tools and resources to create a fantastic Etsy product photo listing. What you can do with the Etsy listing photo with Canva includes: adding shadows, mockups, erasing background (Pro), adding animation, uploading photos, applying filters, downloading into a PNG, reducing the size, and adding text. Canva also has a free version that will still allow you to create the perfect Etsy product photo.
- What size should my Etsy listing photos be? Etsy recommends that your listing photos be 2000 px along the shorter edge; for good quality, they should be in a 4:3 ratio. Therefore, your product listing photo would be at least 2600 pixels wide and 2000 pixels tall.
- How do I make my photos look good on Etsy? The best way to make your photo look good is to ensure it’s clear and there are no spelling mistakes, catchy titles, and engaging photos. And again, of course, Canva! Canva will take your digital planner’s Etsy pictures to the next level, trust me.
Download your free Canva Etsy photo listing template here
Final Thoughts: top tips for creating the perfect Etsy listing photo for your digital planner
There you have it! I hope this blog post was helpful and you now understand what it takes to create the perfect Etsy photo listing.
Make sure you download your free Canva Etsy photo listing template to help create the most alluring, sell-worthy, clickable photo listing pictures.
And don’t forget about Canva.
It’s free!
Please let me know your thoughts about this post in the comment section below.
You may also love:
- How to create a digital planner to sell using Canva like a boss
- The top 10 profitable digital planners to sell on Etsy and make passive income
- Canva Free vs Canva Pro: Which one is worth it?
Tools To Use To Help Build Your Digital Planner Empire:
- Try Canva Pro free for 30 days
- Get 30-days free Skillshare access
- Visit my PLR Canva Template Shop
- Download amazing graphics and fonts with Creative Fabrica and Creative Market
- A helpful guide to opening an Etsy store
- Get your 40 free Etsy listings
- My Etsy shop (for digital planners and printables) use the Promo code: THANKYOU22 for a 5% discount on all purchases.
- Learn how to create incredible digital planners to sell on Etsy with the Create Digital Planners Like A Boss Babe Course